
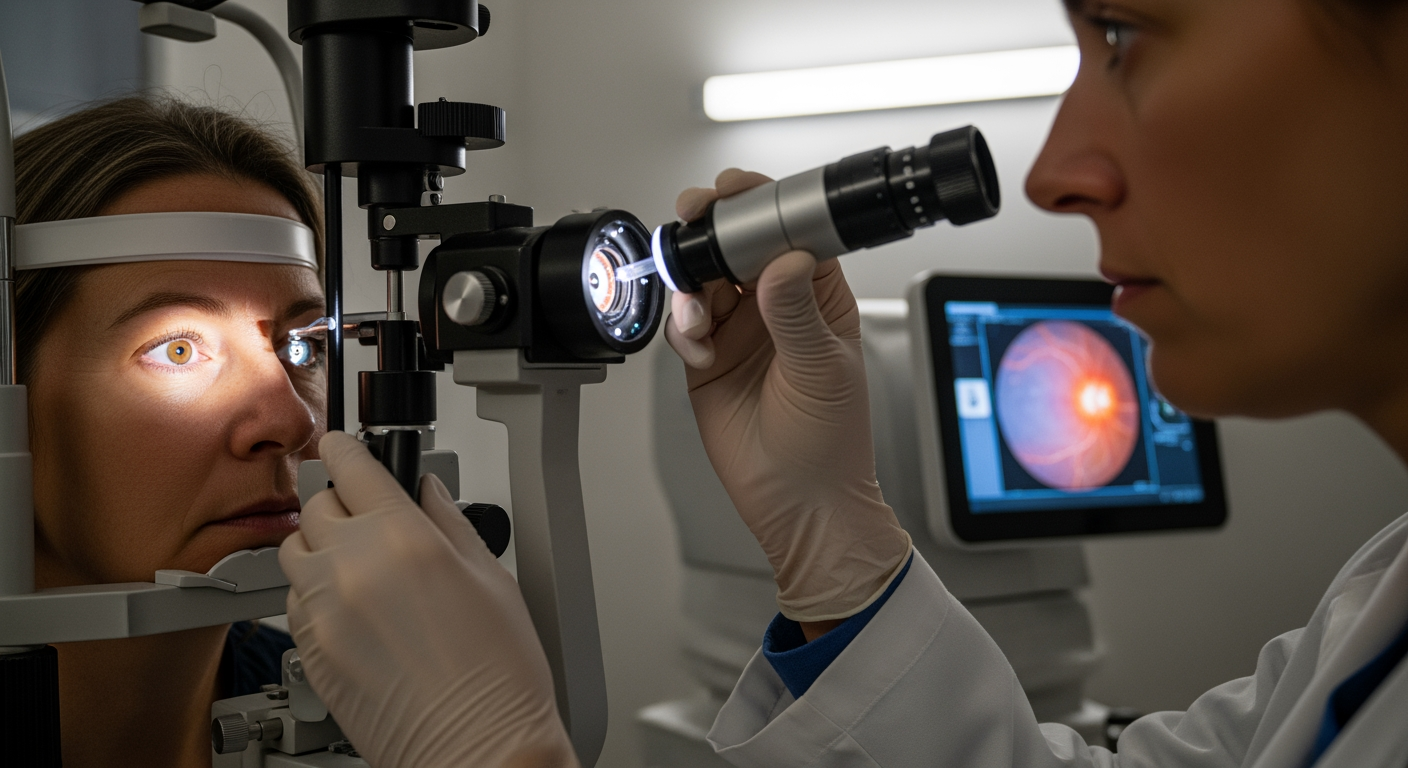
Retina problems can be confusing because the symptoms aren’t always obvious—sometimes it’s a subtle blur, a new floater, or straight lines that suddenly look a little “wavy.” If you’ve been referred for a retina eye exam (or you’re wondering whether you need one), this how-to guide walks you through what typically happens, how to prepare, and what your results may mean. A clear plan matters because the retina is responsible for the detailed vision you use for reading, driving, and recognizing faces. During summer travel and outdoor time, people also tend to notice vision changes more (bright light has a way of revealing what you’ve been ignoring).
This article is educational and can help you feel prepared for your visit, but it can’t replace care from a qualified eye doctor.
Key Points to Know Before Your Visit
- A retina eye exam usually includes vision testing, pupil dilation, and a detailed look at the back of your eye (the retina and optic nerve).
- Plan for extra time—dilation can blur your near vision and increase light sensitivity for several hours.
- You may have imaging tests (like retinal photos or OCT scans) to document and monitor changes linked to retina problems.
- Bring a medication list and note any recent vision changes (new floaters, flashes, distortion, blind spots).
- If you’re concerned about driving after dilation, arrange a ride—especially if you’re sensitive to glare.
How a Retina Eye Exam Typically Works
A retina eye exam is designed to evaluate the health of the retina (the light-sensing tissue in the back of the eye) and related structures. Depending on your symptoms and history, your ophthalmology team may use several tools to check for causes of retina problems and to establish a baseline for future comparison.
Prerequisites
- Know your reason for the visit: referral, symptoms, diabetes screening, medication monitoring, or follow-up.
- Bring essentials: glasses/contacts, a full medication list, and any prior eye records you have access to.
- Plan your schedule: allow time for dilation and possible imaging.
- Step 1: Share your symptom timeline and health history
You’ll be asked about changes in vision, when they started, and whether they’re constant or intermittent.
- Tip: Write down specifics like “new floater in right eye,” “flashes at night,” or “straight lines look bent.”
- Step 2: Get baseline vision and eye pressure checks
Most visits start with visual acuity testing and may include intraocular pressure measurement.
- Tip: If you’ve had dry eye or contact lens irritation, mention it—surface issues can affect test accuracy.
- Step 3: Pupil dilation (the part that makes everything bright and blurry)
Dilating drops widen your pupils so the doctor can see the retina more clearly.
- Tip: Bring sunglasses. Light sensitivity after dilation is common.
- Step 4: Detailed retina evaluation
The ophthalmologist examines the back of your eye using specialized lenses and lights to assess the retina, macula, and optic nerve.
- Tip: Try to keep both eyes open and focus on the target—this helps the exam go faster and smoother.
- Step 5: Imaging and diagnostic testing (as needed)
Common tests may include retinal photography and OCT (optical coherence tomography) to map retinal layers and detect swelling, thinning, or fluid.
- Tip: Ask what the images are being used for: diagnosis, baseline documentation, or monitoring response over time.
- Step 6: Review results and discuss next steps
You’ll typically discuss what was found, what it could mean, and whether follow-up, monitoring, or treatment is recommended.
- Tip: Before you leave, confirm the follow-up plan and what changes should prompt an earlier call.
Why Timing and Preparation Matter for Retina Findings
When you’re dealing with retina problems, the practical stakes often come down to three things: clarity, safety, and follow-through. A well-prepared visit can reduce repeat appointments and help your doctor compare “today” to a reliable baseline later.
- Time: Dilation and imaging can extend your visit; build in buffer time.
- Comfort: Expect temporary glare and blurry near vision; plan errands accordingly.
- Continuity: Retina conditions are often monitored over time, so consistent testing and follow-up matter.
- Safety: If you notice sudden changes (like a curtain over vision), don’t wait for a routine check.
Common Missteps That Can Delay Answers
- Skipping symptom details: “It’s blurry sometimes” is hard to act on. Specifics help narrow causes of retina problems.
- Forgetting medication names: Some medications can affect eye health; bring a full list.
- Assuming dilation is optional: In many cases, dilation is key to a meaningful retina evaluation.
- Driving without a plan: Some people are fine after dilation, others aren’t—especially in bright conditions.
- Not asking about follow-up: If monitoring is recommended, clarify timing and what symptoms should prompt earlier contact.
Your Retina Exam Prep Plan
- Bring sunglasses and consider a driver if you’re sensitive to glare.
- Write down symptom start dates, which eye is affected, and what makes it better/worse.
- List medical conditions that can affect the retina (for example, diabetes or high blood pressure) and any recent medication changes.
- Bring your current glasses and contact lens information.
- Ask for copies or summaries of imaging if you’re coordinating care across providers.
What Most People Miss About Retina Visits
In practice, we often see that people remember the “big” symptoms (like a sudden floater) but forget the smaller clues—like mild distortion, trouble reading in one eye, or needing brighter light than usual. Those details can help your doctor decide which tests are most useful and how closely to monitor possible retina problems.
When to Seek Professional Help Sooner
Schedule an eye evaluation promptly if you notice any of the following, especially if symptoms are new or worsening:
- Flashes of light, especially in the peripheral vision
- A sudden increase in floaters
- A shadow, veil, or “curtain” over part of your vision
- New distortion (straight lines appearing bent or wavy)
- A sudden blind spot or rapid drop in vision
Your Questions, Answered
How long does dilation last after a retina evaluation?
Dilation commonly causes light sensitivity and blurry near vision for a few hours, though the exact duration varies by person and the drops used.
Will I always need imaging like OCT or retinal photos?
Not always. Imaging is often used when your doctor needs more detail, wants a baseline, or needs to monitor changes over time.
What symptoms should I track before my appointment?
Track which eye is affected, when symptoms started, and whether you notice floaters, flashes, distortion, blind spots, or changes in reading or night vision.
Can I wear contact lenses to the appointment?
Often yes, but bring your glasses as a backup. If additional testing is needed, you may be asked to remove contacts during part of the visit.
Moving Forward
A retina eye exam is a structured way to evaluate the health of the back of your eye, document changes, and clarify next steps when symptoms or risk factors are present. With a little preparation—symptom notes, medication list, and a plan for dilation—you can make the visit more efficient and less stressful. If you’re dealing with ongoing vision changes, don’t rely on guesswork; get a professional assessment so you understand what’s happening and what to watch for.
Book Your Consultation
Schedule a free consultation with our experts.